How To | Setup Zoom Rooms Native Controls (JSON)
Discover how to easily set up Zoom Rooms Native Controls using JSON.
Procedure
Physical Components
- Zoom Room Compute and Zoom Room Controller
- Q-SYS Core processor connected to the same network as the Zoom Room Compute and Controller device with internet access.
Software Components
- Q-SYS Designer Software
- Zoom Room Controls Sample Q-SYS Design
- Available for download in Q-SYS Designer Software from Asset Manager
Configuring the Room Controls in Zoom Web Portal
Before you start this step, you will need to have your Zoom Rooms compute connected to the network and configured in the Zoom Rooms Admin portal. Refer to your Zoom administrator and the Getting started with Zoom Rooms for details on getting your Zoom Rooms setup and running.
- Sign into the Zoom web portal with an account that has administrative access to the Zoom Room.
- Click on the Room Management tab under the admin section and select Zoom Rooms.
- Find the room name in the list provided and on the right-hand side of the screen select the Edit button next to the Zoom Room you would like to add controls to.
- Under the Rooms Profile select the Devices tab on the left-hand side of the page.
- Scroll down until you find the Enable Rooms Controls section.
- Toggle the Enable Rooms Control to enable the setting.
- Select the Create Profile button.
- Copy the JSON script into the Create Profile window in the Zoom web portal and click save.
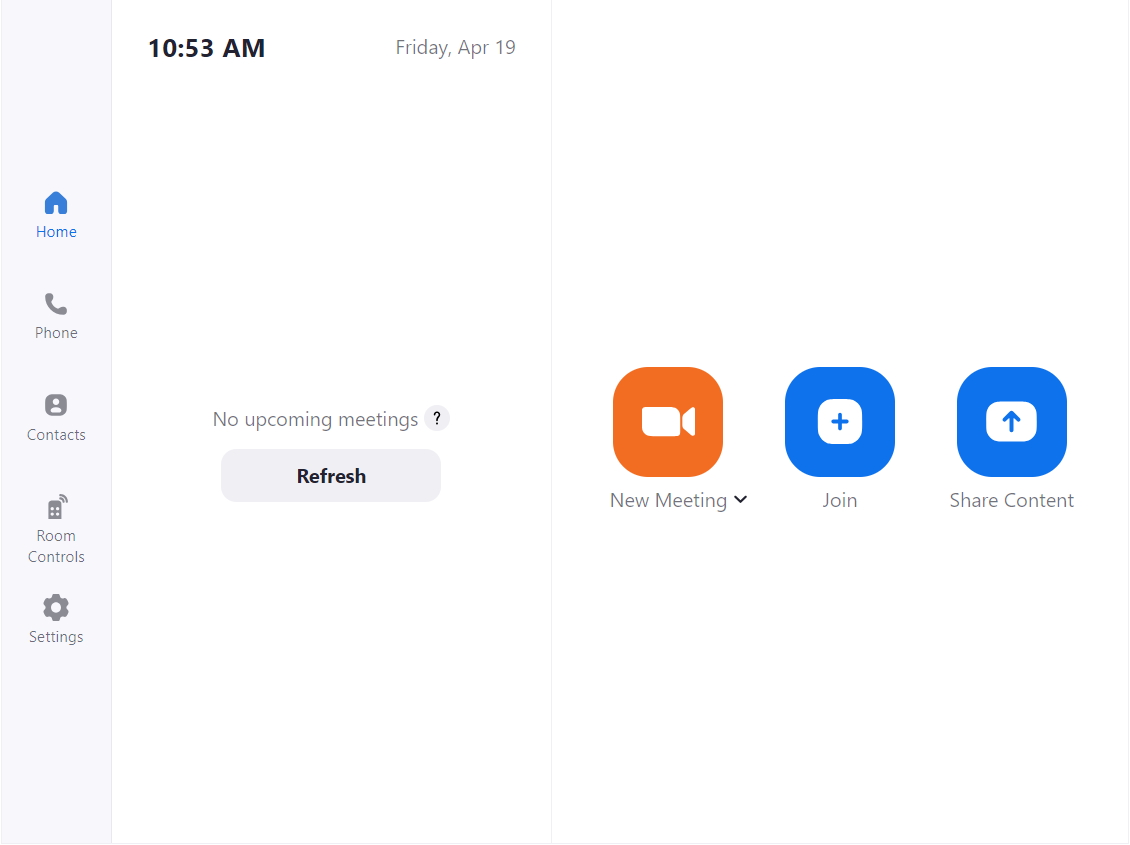
Your Zoom Rooms Controller should now show the Room Controls Icon on the left-hand side of the screen.
Using the Zoom Rooms Controls Sample Q-SYS Design
This sample Q-SYS design (available for download in Q-SYS Designer Software Asset Manager) offers a step-by-step guide on how to properly connect Q-SYS with a Zoom Room. It includes sample logic on how to integrate third-party devices natively into Q-SYS as well as the ability to see Zoom Rooms control feedback happening within Q-SYS.
In the sample program, there is an example JSON script that you can copy and paste into the Create Profile window in the Zoom web portal. For the sample JSON script, you will need to modify line 5 at <CORE IP ADDRESS HERE> and put in your Q-SYS Core IP Address which can be found at Q-SYS Core Manager > Network Settings.
Expanding Third-Party Controls with Q-SYS
Zoom Rooms Native Control uses JSON (JavaScript Object Notation) to communicate one-way with Q-SYS or any Third-Party devices. If you would like to expand or create your own Zoom Rooms controls, some working knowledge of JSON is required. More details can be found here.
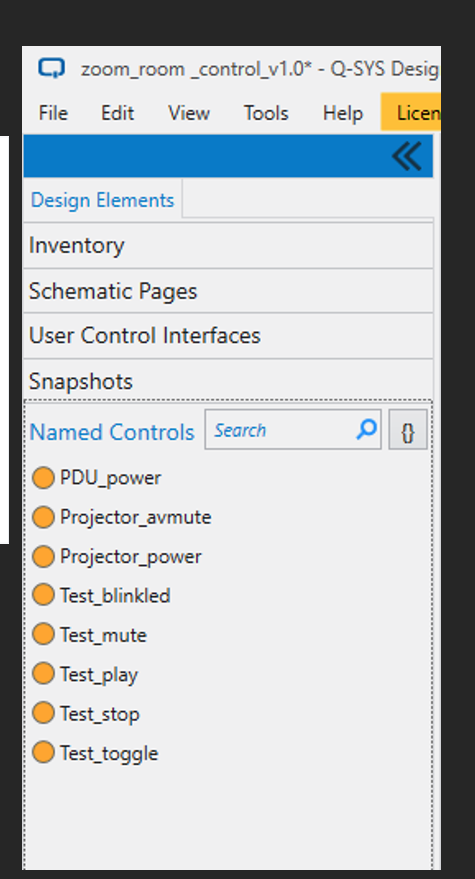
Control from Zoom Rooms to Q-SYS uses the External Control Protocol (ECP) API from Q-SYS. To utilize this API with Zoom Rooms Controls each third-party device that you want to control will need to have the desired controls exported as a Named Control within Q-SYS Designer Software. Once each desired control is a Named Control you can utilize the External Control Protocol (ECP) API syntax in the JSON script that is loaded into the Zoom web portal.